
Dynamic Routing with dispatch() and dispatchAll()
 In many of our projects, accessing dynamic data from an API is a key requirement, whether it's a list of products or customer support tickets. In this tutorial, we will learn how to harness the power of built-in Apostrophe methods to create a dynamic module for fetching and displaying content. To add an element of fun, we'll use DaaS (dogs as a service) to fetch info about our beloved canine companions! Our goal is to develop a module where each dog breed is featured on its own page, dynamically generated and populated with data from an API. This means no manual data entry, just seamless integration and display of information about Fido, Milou, Hachiko, or your favorite canine.
One solution to this task might be to use pieces and the @apostrophecms/piece-page-type module. This module utilizes the dispatch() and dispatchAll() methods from the @apostrophecms/page-type module for rendering templates for all pieces (index.html) and individual pieces (show.html). While effective, this approach requires manual data entry, a time-consuming task, especially with extensive datasets like dog breed information.
In this tutorial, we'll introduce a more efficient method. We'll demonstrate how to fetch and cache data from an API, and then use the dispatch() and dispatchAll() methods in a custom module to dynamically present this content. This strategy not only conserves time but also ensures your site remains current with the latest data from the API. Let's get started! 🐕🌟🐾
INFO
As we dive into our tutorial, we are assuming that you have an existing ApostropheCMS project set up. If you're just starting and need to create a project, no worries! Simply follow the instructions provided in our documentation to get up and running with the ApostropheCMS CLI tool.
Creating the index.js file
Our first step will be to introduce a new page type into our project, specifically designed to showcase our dog API information. Inside the project modules folder create a dog-page folder with an index.js file inside. Edit that file to contain the following:
module.exports = {
  extend: '@apostrophecms/page-type',
  options: {
    label: 'Dogs Page'
  }
};
This module also needs to be registered in your project app.js file and added to the modules/@apostrophecms/page/index.js in the types array of the options. Check out the documentation page for detailed instructions.
We are just going to construct a simple page for our tutorial, so we aren't going to add any additional fields to our page schema. Instead, we will be using a module customization function, methods(self), to extend the page-type methods to fetch and cache our data, and then add our new routes.
Fetching data from the API
To start, we will add a new method for fetching data from an endpoint passed in as an argument. We are also using the Apostrophe cache to store the data so that we don't have to repeatedly hit the API for data that we have already accessed.
...
methods(self) {
  return {
    // Generic method to fetch and cache data
    async fetchAndCacheData(apiUrl, cacheNamespace, cacheKey) {
      try {
        // Attempt to retrieve from cache
        let data = await self.apos.cache.get(cacheNamespace, cacheKey);
        if (!data) {
          // Fetch from API if not in cache
          const response = await fetch(apiUrl);
          data = await response.json();
          // Cache the data for 1 hour
          await self.apos.cache.set(cacheNamespace, cacheKey, data, 3600);
        }
        // We are returning the 'message' object, not the whole result
        return data.message;
      } catch (error) {
        console.error(`Error fetching data from ${apiUrl}:`, error);
        return {};
      }
    }
  }
}
This method is relatively generic and could be used for most data APIs. It has a try...catch block to either return the API data or catch any errors. In the try block, we first attempt to set the value of the data variable to any cached data. The @apostrophecms/cache module get() method takes a cache namespace string as the first argument and returns any data in that namespace associated with the key string passed in the second argument.
In this case, if the data isn't cached, we fetch the data from the passed endpoint and then use the cache module set() method to make it accessible if it is requested again. Note that we are setting that cache to expire after 3600 seconds (1 hour).
Finally, we are returning the message object from the response. This is specific to the Dog API that I'm using in this example, so this line might need to be altered when using other APIs.
A Request
The API that we are using is being hosted by a kind individual at dog.ceo. If you find this tutorial useful and have hit his endpoint repeatedly, we encourage you to check out his site and maybe buy him some dog treats to support his hosting costs.
Dynamic Routing with dispatch() and dispatchAll()
Now that we have set up our module and integrated a method for fetching and caching data from our dog breed API, it's time to explore the heart of dynamic routing in ApostropheCMS - the dispatch() and dispatchAll() methods. These methods allow you to create routes that respond dynamically to various URL patterns.
The dispatch(pattern, ...middleware, handler) method provides a way to add Express-style routing for ApostropheCMS pages. The pattern argument is a string that can contain a mix of static and dynamic values, where dynamic values are preceded with a :. For example, in the pattern /user/:userId, :userId is a dynamic segment that will match any string in its place. When a URL matches the pattern, the dispatch function then passes the req to optional middleware and then the final handler. In an ApostropheCMS project, this handler often includes the setTemplate() helper method that selects which template will be rendered.
The dispatchAll() method is a utility for registering multiple dispatch() routes at once. This method is invoked during project startup within the init method of the @apostrophecms/page-type module. This allows for all of your dynamic routes to be ready as soon as your project is fully spun up.
Add the following to the methods section of your dog-page module index.js file.
dispatchAll() {
  // Route for all breeds
  self.dispatch('/', async (req) => {
    // API-specific endpoint for listing all breeds
    const apiUrl = 'https://dog.ceo/api/breeds/list/all';
    req.data.breeds = await self.fetchAndCacheData(
      apiUrl,
      'breedData',
      'all'
    );
    return self.setTemplate(req, 'breedList');
  });
  // Route for specific breeds and varieties
  self.dispatch('/:breed/:variety?', async (req) => {
    const { breed, variety } = req.params;

    // Build the API URL and cache key
    const apiUrl = variety
      ? `https://dog.ceo/api/breed/${breed}/${variety}/images`
      : `https://dog.ceo/api/breed/${breed}/images`;
    const cacheKey = variety ? `${breed}-${variety}` : breed;

    // Fetch and cache breed images
    req.data.images = await self.fetchAndCacheData(
      apiUrl,
      'breedData',
      cacheKey
    );
    req.data.breed = variety ? `${variety} ${breed}` : breed;
    return self.setTemplate(req, 'breedImages');
  });
}
Fetching the breed list
The first dispatch() method has a pattern of /. This means that it will match the base slug for each page of this type. So, if your page has a slug of dogs, it will match, https://mysite.com/dogs. When a user makes a request to this page, this method will intercept the rquest and make a call to the fetchAndCacheData() method. It will pass the namespace breedData and the key all to check for cached data. The returned data will be added to the req object as data.breed for retrieval in our template. Finally, the modified req will be passed to the setTemplate() helper method to designate that the breedList.html template from the module views folder should be rendered in the browser.
Fetching the breed images
Looking at the breed list returned by the API, we can see that for some of the breeds, there are multiple varieties, while for others there is only a single. This means that we need to come up with a strategy to provide routes for both. The second dispatch() method has a more complicated pattern, /:breed/:variety? to deal with this situation. It will match the base slug for the page, plus at least one additional dynamic parameter that specifies the breed and an optional parameter for the variety as indicated by the appended question mark. So this pattern would match both https://mysite.com/dogs/pug and https://mysite.com/dogs/bulldog/boston.
An alternative to combining these two routes in one pattern is to create two separate dispatch() methods. The first would set the template based on breed and the second on variety.
self.dispatch('/:breed', async req => { ... })
self.dispatch('/:breed/:variety', async req => { ... })
Separation of the routes makes sense when the handling of the dynamic parameters differs significantly.
The handler in this case is also a little more complicated in order to construct the correct endpoint for whether there is a variety included or not. The returned data is again added to the req object and then used to designate that the breedImages.html template should be rendered in the browser.
Creating the template files
Now that we have set up our dispatch routes, we need to create the templates that will be used for each route. To keep the tutorial simple, we will only cover the parts of the templates that are specific to dealing with data returned by the dispatch callbacks. However, these templates also have some custom styling to create a lightbox for the images and allow the user to return to the list of all breeds.
The breedList.html template
Create a views folder in your custom module and add a breedList.html file inside. This is the file that will display a list of all our breeds returned by the API. Add the following code:
{% extends 'layout.html' %}

{% block main %}
  <h1>Dog Breeds</h1>
  <div class="divider"></div>
  <div class="breed-columns">
    {% for breed, varieties in data.breeds %}
      <div class="breed-column">
        <h2>{{ breed | capitalize }}</h2>
        {% if varieties and varieties.length > 0 %}
          <ul>
            {% for variety in varieties %}
              <li>
                <a href="{{ data.page._url }}/{{ breed }}/{{ variety }}">{{ variety | capitalize }} {{ breed | capitalize }}</a>
              </li>
            {% endfor %}
          </ul>
        {% else %}
          <a href="{{ data.page._url }}/{{ breed }}">{{ breed | capitalize }}</a>
        {% endif %}
      </div>
    {% endfor %}
  </div>
{% endblock %}
This template is a straightforward Nunjucks template. It retrieves the API data from the data object. For each breed, it creates a block of markup with either a single link if there is a single variety, or multiple links if there is more than one. We will use CSS to arrange these blocks of code into a responsive grid. The links themselves will create the pattern for our second dispatch() method, either /:breed or /:breed/:variety.
The breedImage.html template
To display the breed images to the user we need a separate template that parses all of the image links passed back from the API. Create a breedImage.html file in the views folder of your module and add the following:
{% extends 'layout.html' %}
{% block main %}
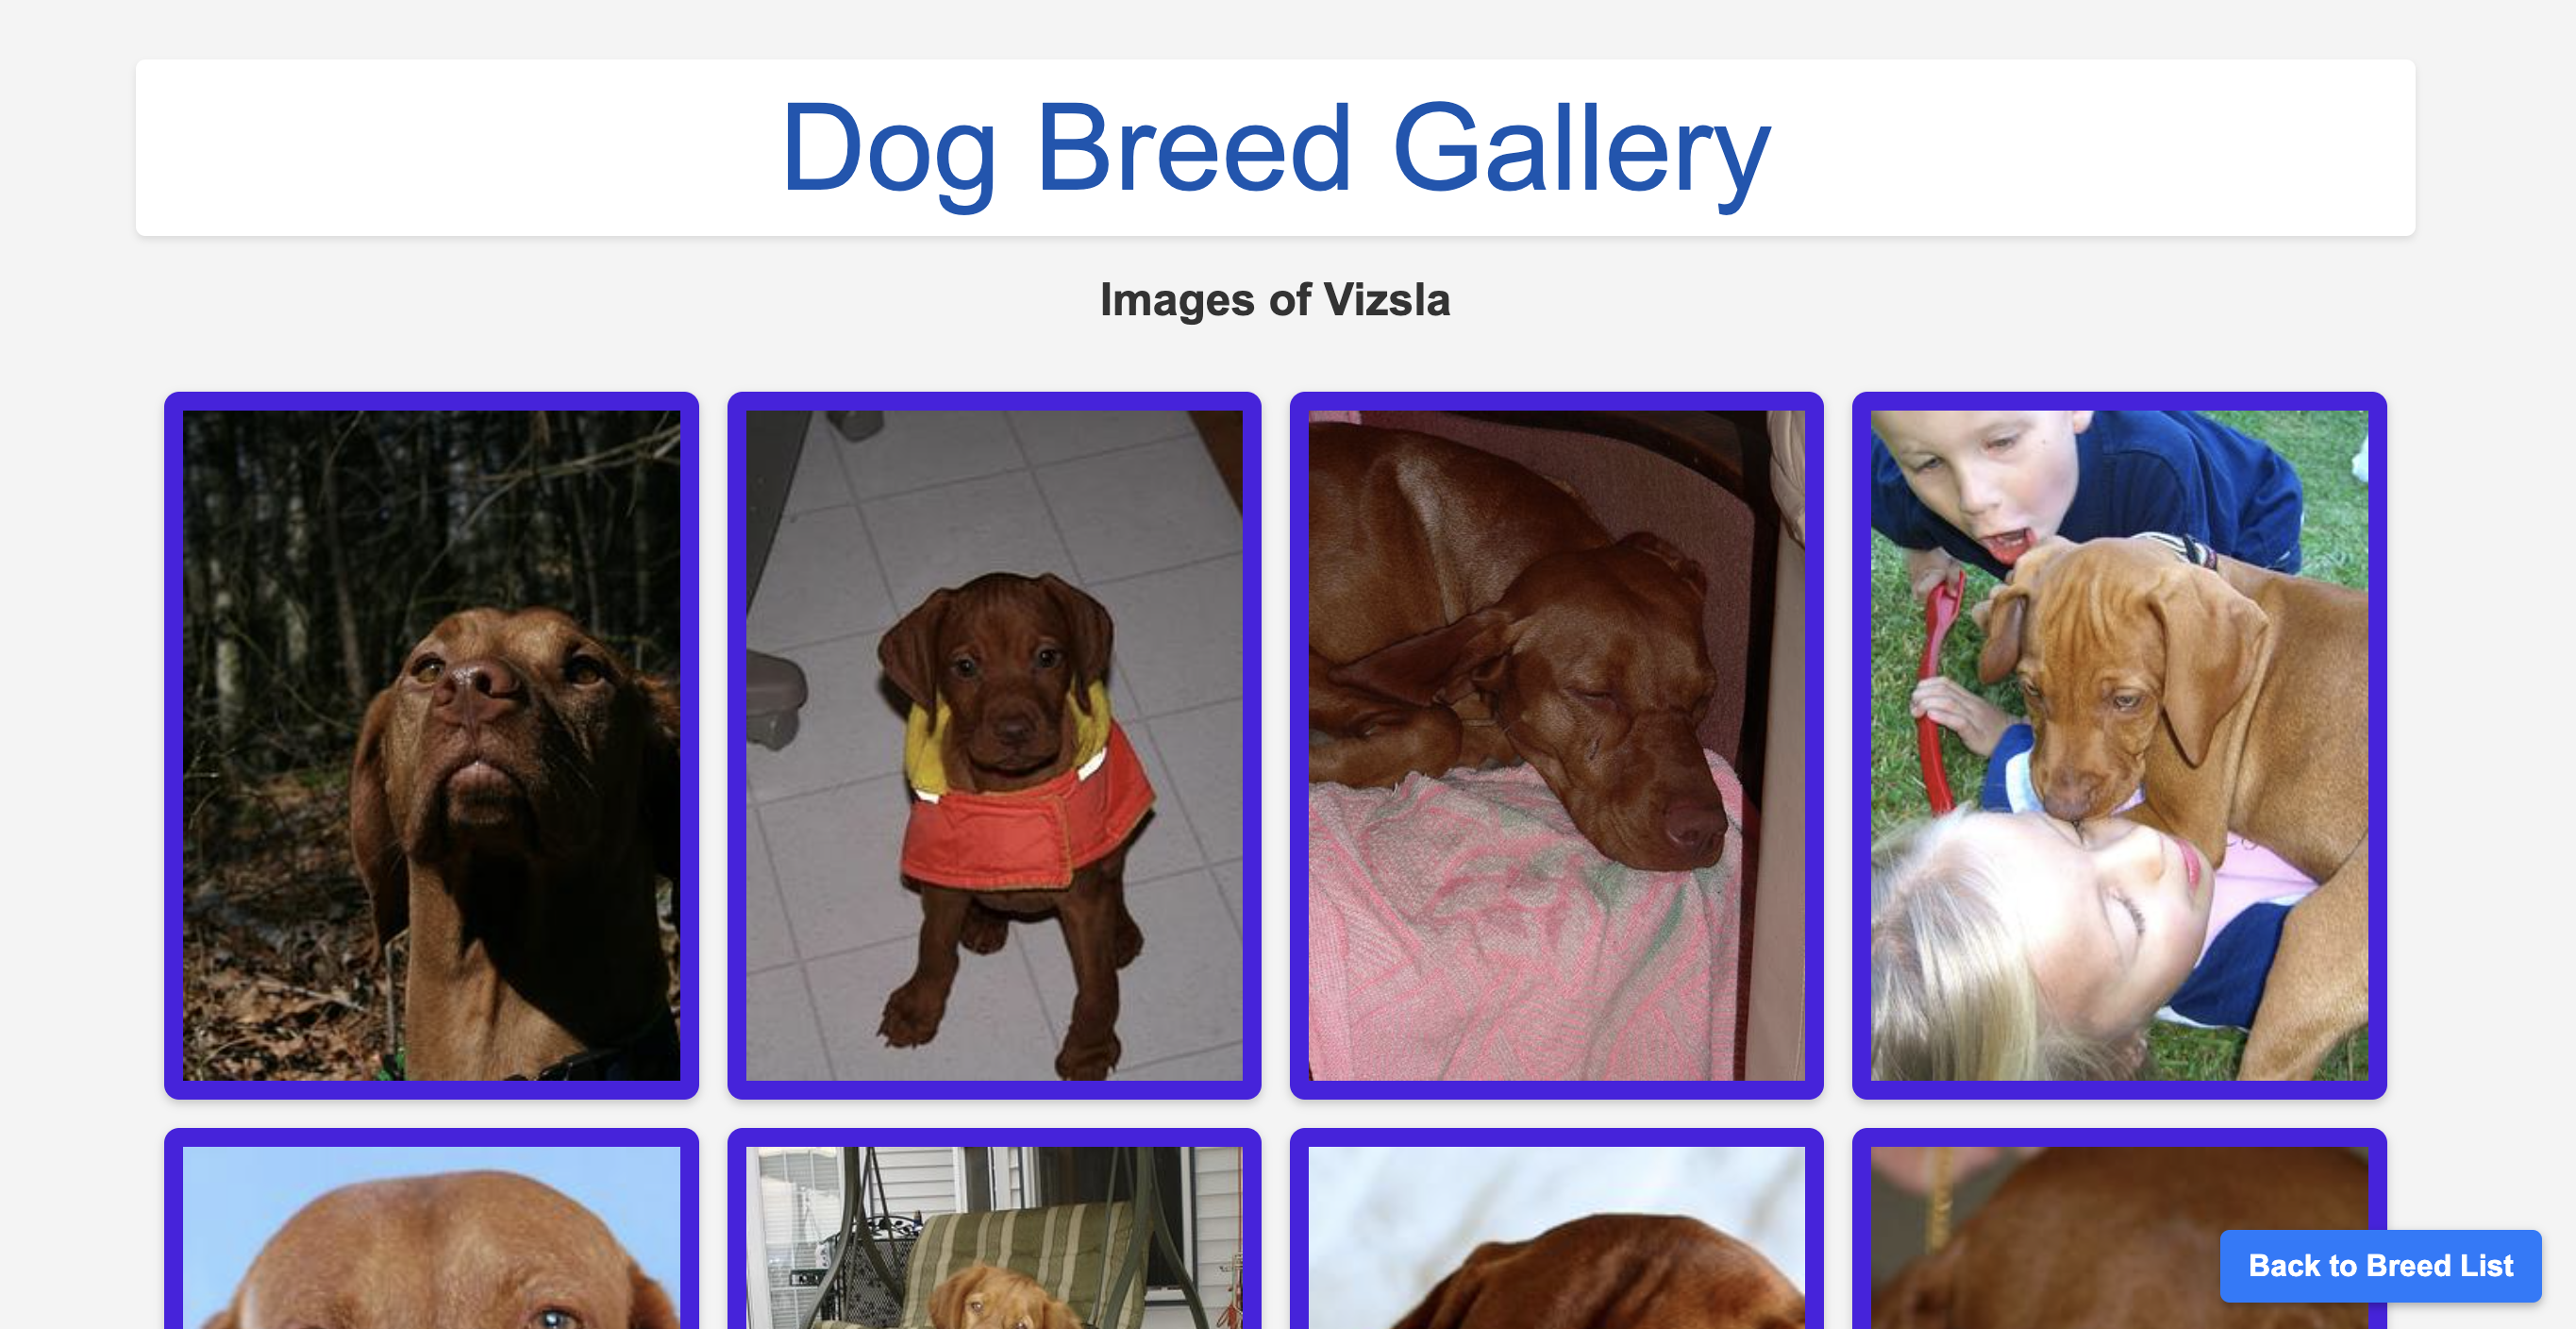
<h1>Dog Breed Gallery</h1>
<h2>Images of {{data.breed | capitalize}}</h2>
<div class="image-grid">
{% for imageUrl in data.images %}
<a href="#img{{ loop.index }}" class="image-container">
<img src="{{ imageUrl }}" alt="Dog image" />
</a>
<div id="img{{ loop.index }}" class="lightbox">
<div class="lightbox-content">
<a href="#close" class="close">×</a>
<img src="{{ imageUrl }}" />
<p>Image {{ loop.index }}</p>
</div>
</div>
{% endfor %}
</div>
<a href="{{ data.page._url }}" role="button" class="back-to-list-button">Back to Breed List</a>
{% endblock %}Again, this is a straightforward Nunjucks template. We are using a loop to display each of the images sent back from the API. To allow for lightbox functionality when the user clicks an image, we have enclosed each in a link with a href created from the loop.index. We have also created a div with an id constructed from this same index.
Finally, since clicking on an image to open a lightbox will alter the browser history and the functionality of the back button, we are providing a button to go back to the breed list. Individual breed pages, like /dogs/pug, aren't stored in the database but are dynamically generated. As such, navigating to one of these breed-specific pages is still technically a request for the parent /dogs page, so the URL for the breed list page will be contained in data.page._url.
Adding styling
The only thing left to do on this project is to add a bit of styling. There are a number of locations in your ApostropheCMS project where you can add styling. If you prefer to keep your styling all in one place you can add it to a folder like modules/asset/ui/src or you can add it to a similar location on a per-module level. We are going to do the later, so create a modules/dog-page/ui/src/index.scss file. In general, I prefer to add my styling into individual files within a scss folder and then import them through the index.scss file. In this case, we will take the simple route of adding the styling directly to the index. Add the following code:
// General styles
main {
  max-width: unset;
  width: 90%;
}
a[name="main"] {
  display: none;
}
body {
  font-family: Arial, sans-serif;
  margin: 0;
  padding: 20px;
  background-color: #f4f4f4;
  color: #333;
}
h1 {
  text-align: center;
  margin-bottom: 20px;
  color: #0056b3;
  background-color: #fff;
  padding: 10px;
  border-radius: 5px;
  box-shadow: 0 2px 4px rgba(0,0,0,0.1);
}
a {
  display: block;
  padding: 10px;
  background-color: #4b21e3;
  border-radius: 5px;
  text-decoration: none;
  color: #fff;
  font-weight: bold;
  text-align: center;
  transition: background-color 0.3s ease;

  &:hover {
    background-color: #0275d8;
  }
}

// Styling for the breed list page
.divider {
  border-top: 5px solid #0056b3;
  margin: 20px 0;
}
.breed-columns {
  display: flex;
  flex-wrap: wrap;
  justify-content: center;
}
.breed-column {
  flex-basis: calc(33% - 50px);
  margin: 10px;
  background-color: #fff;
  border-radius: 8px;
  box-shadow: 0 2px 4px rgba(0,0,0,0.1);
  padding: 15px;

  > h2 {
    justify-content: left;
  }

  & a:visited {
    color: #fff;
  }
}
@media screen and (max-width: 880px) {
  .breed-column {
      flex-basis: calc(50% - 50px);
  }
}
@media screen and (max-width: 480px) {
  .breed-column {
      flex-basis: 100%;
  }
}
ul {
  list-style-type: none;
  padding: 0;
}
li {
  margin-bottom: 10px;
}

// Styling for the breed pages
.image-grid {
  display: grid;
  grid-template-columns: repeat(auto-fill, minmax(250px, 1fr));
  gap: 15px;
  padding: 15px;
}
.image-container {
  overflow: hidden;
  border-radius: 8px;
  box-shadow: 0 2px 5px rgba(0, 0, 0, 0.2);
  img {
    width: 100%;
    height: 100%;
    object-fit: cover; // This ensures images cover the area without distortion
    transition: transform 0.3s ease;

    &:hover {
        transform: scale(1.05);
    }
  }
}

/* Lightbox styles */
.lightbox {
  display: none;
  position: fixed;
  z-index: 1000;
  left: 0;
  top: 0;
  width: 100%;
  height: 100%;
  background-color: rgba(0, 0, 0, 0.8);
  align-items: center;
  justify-content: center;
}
.lightbox:target {
  display: flex;
}
.lightbox-content {
  position: relative;
  max-width: 80%;
  max-height: 80%;
  margin: auto;
  padding: 10px;
  background: white;
  border-radius: 8px;
  box-shadow: 0 4px 8px rgba(0, 0, 0, 0.2);
}

.lightbox-content img {
  max-width: 100%;
  max-height: 100%;
  display: block;
  margin: auto;
}
.close {
  position: absolute;
  top: 10px;
  right: 15px;
  text-decoration: none;
  font-size: 30px;
  color: black;
}

/* Back to list button */
.back-to-list-button, .back-to-list-button:visited {
  position: fixed; /* Fixed position relative to the viewport */
  bottom: 20px; /* 20px from the bottom */
  right: 20px; /* 20px from the right */
  background-color: #007bff; /* Background color */
  color: white; /* Text color */
  padding: 10px 15px; /* Padding around the text */
  text-decoration: none; /* Remove underline from link */
  border-radius: 5px; /* Rounded corners */
  font-size: 16px; /* Font size */
  z-index: 1100; /* Ensure it's above other elements */
  box-shadow: 0 2px 5px rgba(0, 0, 0, 0.3); /* Shadow for a "floating" effect */
  transition: background-color 0.3s; /* Transition for hover effect */

  &:hover {
    background-color: #0056b3; /* Darker shade when hovered */
  }
}
Congratulations on reaching the end of this tutorial! We've covered a lot of ground, delving into dynamic routing in ApostropheCMS using the dispatch() and dispatchAll() methods. By now, you should have a good understanding of how to create dynamic modules for fetching and displaying content from an API. It's worth noting that dispatch() is versatile and not limited to API use cases. You can also use it for dynamically serving content from local files, perfect for static datasets, mock data during development, or offline functionality.
We hope you found this tutorial enlightening and enjoyable. Happy coding, and may your projects be as dynamic and lively as the dog breeds we explored! 🎉🐕🌐